[프레임워크/리액트네이티브] - [react-native] 시작해보기 1 - 프로젝트 생성
생성한 프로젝트의 코드를 살펴보자
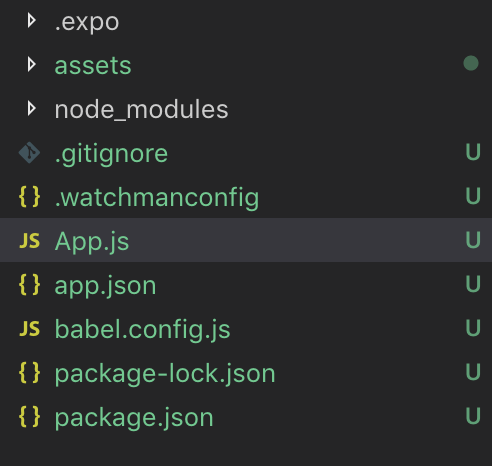
파일은 아래와 같이 생성되어있고,

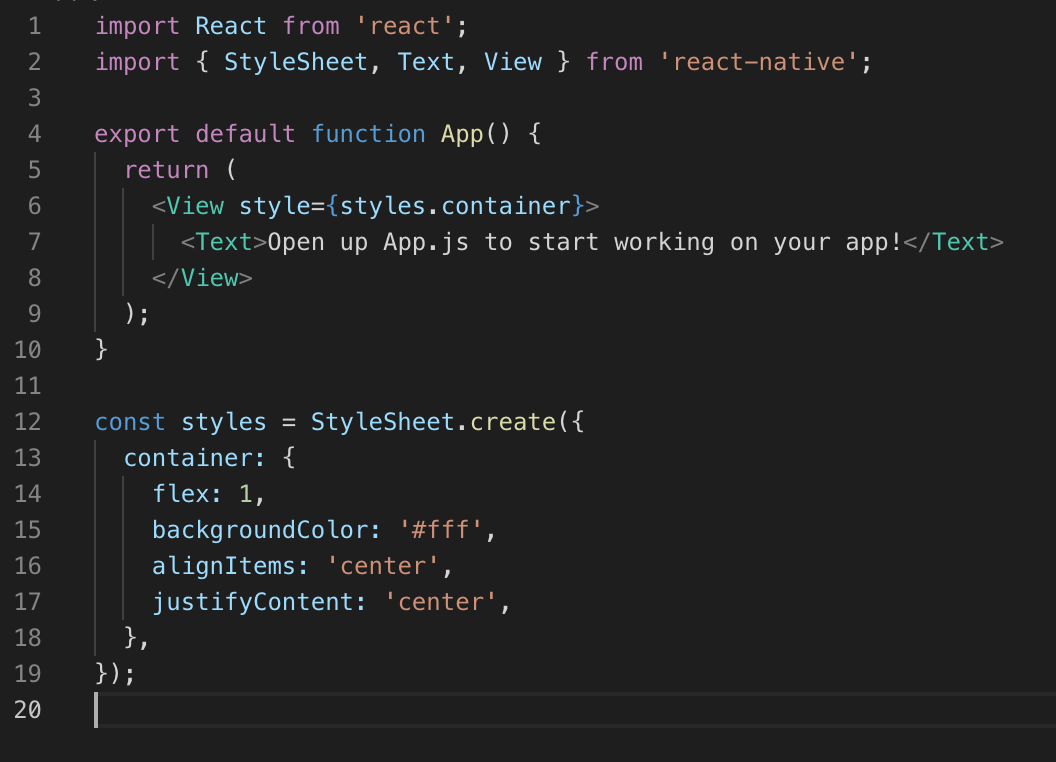
메인을 구성하는 App.js 를 살펴보자


화면에 보이는 텍스트를 먼저 보면
<Text>Open up App.js to start working on your app!</Text><Text> 텍스트를 출력하는 태그로 감싸져 있다.
https://docs.expo.io/versions/v33.0.0/react-native/text/
<Text></Text>는 <View>로 감싸져 있다.
<View style={styles.container}>
    <Text>Open up App.js to start working on your app!</Text>
</View>
<div></div>와 같은 역할을 하는 View
https://docs.expo.io/versions/v33.0.0/react-native/view/
View - Expo Documentation
View is designed to be nested inside other views and can have 0 to many children of any type. This example creates a View that wraps two colored boxes and a text component in a row with padding. For View responder props (e.g., onResponderMove), the synthet
docs.expo.io
style에는 styles.container이 적용되어있다.
const styles = StyleSheet.create({
  container: {
    flex: 1,
    backgroundColor: '#fff',
    alignItems: 'center',
    justifyContent: 'center',
  },
});
flex 레이아웃으로 구성되어잇고, 배경색은 흰색 정렬은 가운데로 되어있는 css 속성이다.
일단 <Text></Text> 태그 안의 문구를 바꾸고 View의 배경색을 변경해 보았다.

hello world 를 출력했다면 이제 리액트네이티브로 모든걸 다 할 수 있다는 의미 ㅋㅋ
import React from 'react';
import { StyleSheet, Text, View } from 'react-native';

export default function App() {
  return (
    <View style={styles.container}>
      <Text>
        Hello World!
      </Text>
    </View>
  );
}

const styles = StyleSheet.create({
  container: {
    flex: 1,
    backgroundColor: '#FDEAEB',
    alignItems: 'center',
    justifyContent: 'center',
  },
});
'리액트네이티브' 카테고리의 다른 글
| [react-native] EXPO로 시작해보기 6 - 조건에 따라 다른 화면 보여주기 (0) | 2019.07.30 |
|---|---|
| [react-native] EXPO로 시작해보기 5 - 태그 추가해 보기 <LinearGradient><Ionicons><StatusBar> (0) | 2019.07.30 |
| [react-native] EXPO로 시작해보기 4 - 태그 추가해 보기 <SafeAreaView><TextInput> (0) | 2019.07.29 |
| [react-native] EXPO로 시작해보기 3 - 태그 추가해 보기 <Button> <Image> (0) | 2019.07.29 |
| [react-native] EXPO로 시작해보기 1 - 프로젝트 생성 (0) | 2019.07.29 |


댓글